Essential Tools for Precision Foam Cutting
Proper customization begins with selecting electric carving knives or surgical-grade scalpels for clean cuts. Use template stencils made from cardboard to map cervical support curves. Laser thermometers help identify density variations in foam layers before cutting.
Ergonomic Design Principles for Sleep Alignment
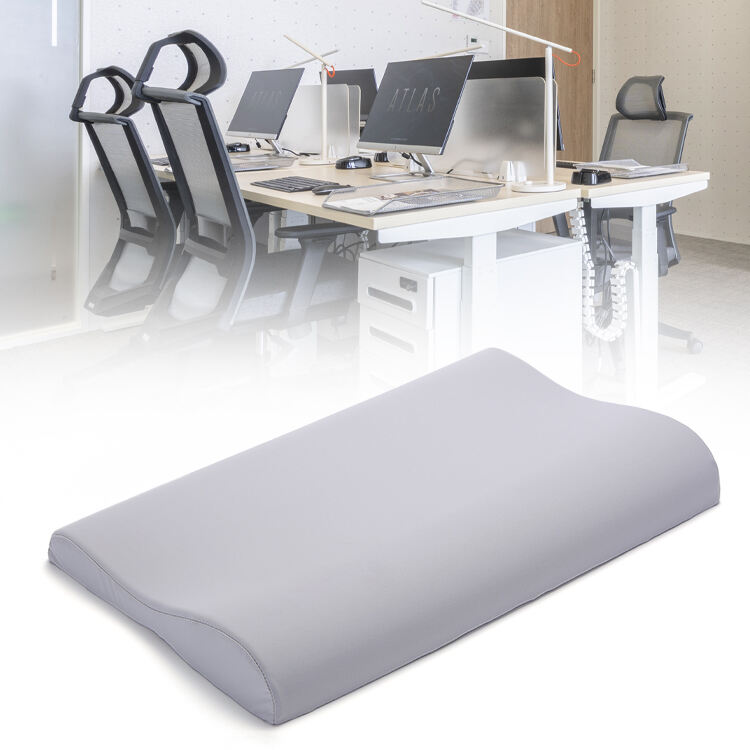
Create contoured zones that maintain 4-6 inch loft for side sleepers while reducing pressure on trapezius muscles. Back sleepers benefit from central depression areas with raised edges to prevent neck hyperextension. Measure shoulder width to determine optimal pillow curvature radius.
Advanced Ventilation Modification Methods
Improve airflow by creating strategic perforations using leather punch tools (8-10mm spacing). Layer gel-infused foam inserts between original layers using food-grade adhesive. Implement channel-cut designs along pillow edges to redirect heat buildup without compromising structural integrity.
Density Adjustment Through Layered Cutting
Separate high-density base layers (3.5-4.5lb/ft³) from top comfort layers using bread knife scoring. Reconfigure foam strata to create progressive support zones - firmer sections under neck vertebrae transitioning to softer material near the occipital region. Test firmness combinations using pressure mapping techniques.
Post-Cutting Surface Treatment Solutions
Seal exposed foam edges with liquid silicone barriers to prevent crumbling. Use rotary sanders with 180-grit paper to smooth contour transitions. Apply antimicrobial fabric liners between foam layers using hypoallergenic bonding spray. Implement moisture-wicking covers with 360° zipper access for easy adjustments.
Long-Term Maintenance for Customized Pillows
Rotate customized pillows 180° weekly to balance compression wear. Use handheld vacuums with upholstery attachments for debris removal from ventilation channels. Refresh foam resilience monthly with 2-hour low-heat dryer cycles containing moisture-absorbing tennis balls.
